Homemade Cherry Ice Cream: Craft a Decadent Custard Dream
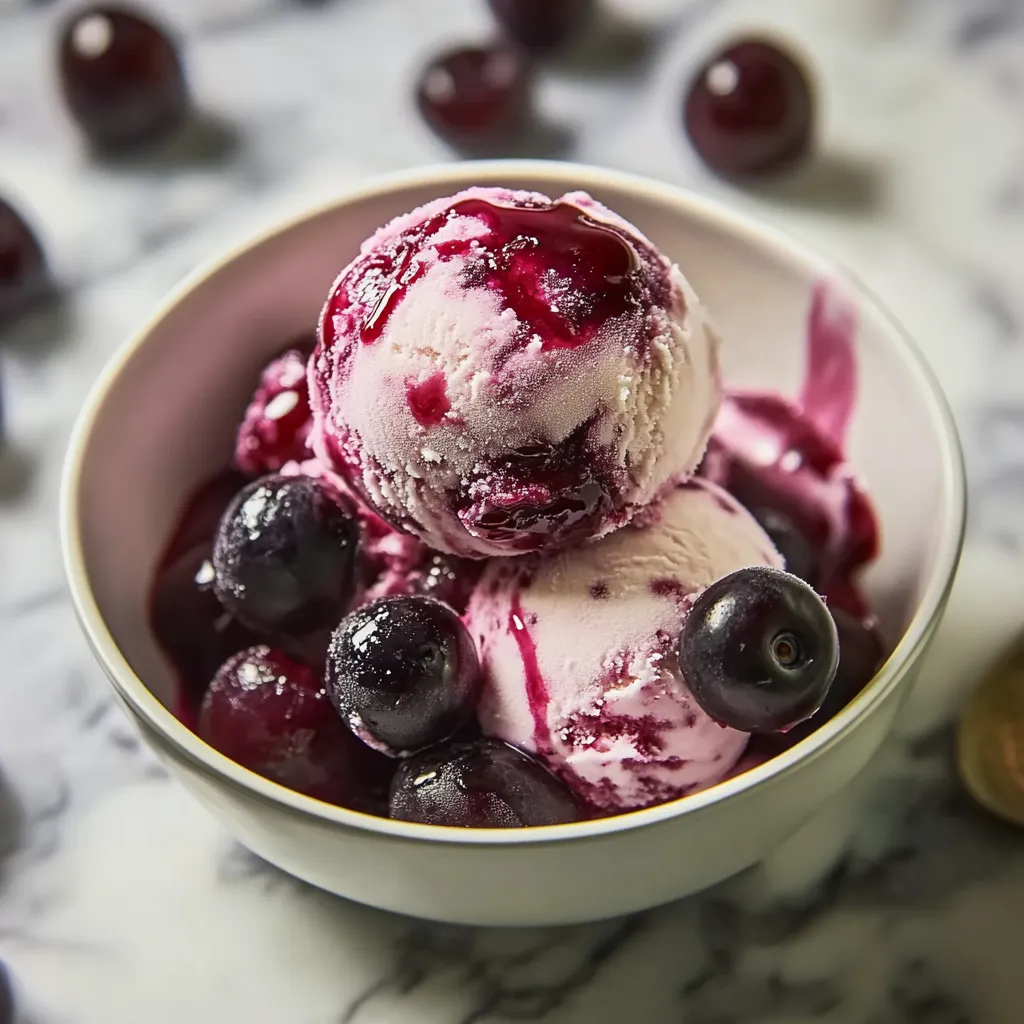
There are few culinary delights as satisfying as a scoop of perfectly churned, homemade ice cream. But when that ice cream features the vibrant taste of sun-ripened cherries nestled in a rich, creamy custard base, it transcends mere dessert and becomes a true summer dream. Forget the store-bought tubs; mastering a classic
cherry ice cream recipe at home offers an unparalleled experience, delivering a dessert so luxurious it could rival the finest artisanal parlors. This isn't just a frozen treat; it's an indulgence, a celebration of flavor and texture that truly captures the essence of cherry season.
Why Homemade Cherry Ice Cream Reigns Supreme
Opting to make your own cherry ice cream isn't just a fun kitchen project; it's a choice for superior quality and flavor. When you craft this dessert yourself, you have complete control over every ingredient, ensuring only the freshest and best make it into your bowl. This means perfectly ripe, sweet cherries, high-fat heavy cream, and the subtle, enhancing notes of vanilla and almond extract.
Homemade ice cream, especially one built on a traditional custard foundation, offers a richness and depth of flavor that mass-produced varieties simply can't match. The custard base provides an incredibly smooth, dense, and creamy texture that resists ice crystals, melting slowly and decadently on the tongue. It’s an experience that’s deeply rewarding, both in the making and in the savoring. This particular
Fresh Cherry Ice Cream: The Ultimate Summer Dessert Recipe truly shines because it allows the natural sweetness and slight tartness of the cherries to come through, beautifully balanced by the creamy backdrop.
The Art of the Custard Base: Crafting Perfection
The secret to truly decadent homemade cherry ice cream lies in its rich, egg-yolk-enriched custard base. This isn't a quick 'no-churn' method (though those have their place); this is the classic, time-honored approach that yields an incredibly smooth, dense, and luxurious texture. Making the custard on the stovetop requires a bit of attention, but the results are undeniably worth the effort.
Here’s what you’ll need and why:
- Egg Yolks: These are the backbone of your custard, providing incredible richness, emulsification, and a velvety texture that no other ingredient can replicate. Aim for 3-4 large egg yolks for a perfect consistency.
- Granulated Sugar: Beyond sweetness, sugar plays a crucial role in the texture of ice cream, helping to prevent the formation of large ice crystals, ensuring a smooth mouthfeel.
- Heavy Whipping Cream & Whole Milk: The combination of these two is key. Heavy whipping cream (with its higher fat content, usually 36%+) delivers the luxurious richness and body essential for a premium ice cream. Whole milk balances this richness while still contributing to the overall creaminess. Avoid 'whipping cream' as its lower fat content won't yield the same decadent results.
- Almond Extract: This is a non-negotiable for an authentic cherry ice cream experience. Cherries and almonds share a common organic compound (benzaldehyde), which is why their flavors harmonize so perfectly. A dash of almond extract elevates the cherry notes, adding a sophisticated depth. To understand more about this incredible pairing, explore Elevate Your Palate: Why Custard & Almond Make Perfect Cherry Ice Cream.
- Vanilla Extract: A touch of pure vanilla extract enhances all the other flavors, adding warmth and complexity without overpowering the star ingredient – the cherries.
- Pinch of Salt: Just like in baking, a tiny bit of salt balances the sweetness and intensifies the overall flavor profile.
Making the Custard: Step-by-Step
- Whisk & Combine: In a heavy-bottomed saucepan, whisk your egg yolks, sugar, and salt until they are light yellow and well blended. Gradually stir in the heavy cream and milk.
- Cook Gently: Place the saucepan over low to medium-low heat. Stir *constantly* with a whisk or rubber spatula, scraping the bottom and sides of the pan. The key here is patience and vigilance. You're gently cooking the eggs, not scrambling them.
- Reach Temperature: Continue stirring until the mixture thickens slightly, coating the back of a spoon. An instant-read thermometer should register 160°F (71°C). Do NOT allow the custard to boil, or the egg yolks will curdle. If you see even the slightest hint of bubbles, remove it from the heat immediately.
- Cool Down: As soon as it reaches temperature, remove the custard from the heat. To stop the cooking process, immediately transfer the hot custard to a large, clean bowl. Place this bowl into a larger bowl filled with ice water (an ice bath). Stir the custard gently for a couple of minutes to help it cool quickly. Stir in the almond and vanilla extracts.
- Chill Thoroughly: Cover the surface of the custard directly with plastic wrap to prevent a "skin" from forming. Refrigerate for at least 4 hours, or preferably overnight. This crucial chilling period allows the flavors to meld and the custard to become completely cold, which is essential for proper churning and a smooth texture.
Mastering the Cherries: From Orchard to Ice Cream
No
cherry ice cream recipe would be complete without perfectly prepared cherries. The type of cherry you choose significantly impacts the final flavor profile.
- Dark Sweet Cherries: Varieties like Bing, Chelan, or Black cherries are ideal for their rich sweetness with a subtle hint of acidity, and their beautiful deep crimson color. These are what give your ice cream that classic, luxurious taste.
- Tart Cherries: If you prefer a more pronounced tartness to balance the sweetness of the custard, Montmorency (sour) cherries can be a fantastic choice, though you might want to slightly increase the sugar in the custard.
Cherry Preparation Tips:
- Fresh is Best: When cherries are in season, fresh, local fruit will yield the most vibrant flavor. Look for firm, plump cherries with green stems.
- Frozen Alternative: If fresh cherries aren't available, high-quality frozen dark sweet cherries are your next best bet. Ensure you thaw them completely and drain any excess liquid before using to avoid diluting your ice cream.
- Pitting: This is the most labor-intensive part! A cherry pitter makes quick work of it, but you can also use a chopstick or a pastry tip.
- Chopping for Texture: For the best experience, use a combination of finely chopped and coarsely chopped cherries. Pulse about half of your pitted cherries in a food processor until finely minced; this infuses the entire base with cherry flavor. Coarsely chop the remaining half by hand to provide delightful bursts of whole cherry flavor and texture in every spoonful.
- Optional Color Boost: A few drops of red food coloring can enhance the visual appeal, giving your ice cream that vibrant pink hue, but it's entirely optional and doesn't affect the taste.
Once your custard is thoroughly chilled, gently fold in the finely chopped cherries (along with the food coloring, if using) and then the coarsely chopped cherries. This ensures the fruit is evenly distributed.
The Churn & Chill: Bringing Your Dream to Life
With your perfectly chilled custard and prepped cherries, it's time for the magic of the ice cream maker.
- Prepare Your Machine: If you have an ice cream maker that requires a pre-frozen bowl, ensure it's been in the freezer for at least 24 hours. This is critical for proper churning.
- Churn Away: Pour the cherry custard mixture into the cylinder of your ice cream maker. Do not overfill; it should generally be no more than two-thirds full to allow for expansion as it churns and incorporates air. Churn according to your manufacturer's instructions, typically for 20-30 minutes, until the mixture is thick and resembles soft-serve ice cream.
- The "Ripening" Stage: While it's tempting to dive in immediately, homemade ice cream benefits greatly from a "ripening" stage in the freezer. Transfer the soft ice cream to an airtight container. Press plastic wrap directly onto the surface of the ice cream, then seal the container. Freeze for at least 4-6 hours, or preferably overnight, for it to firm up to a scoopable consistency and for the flavors to fully develop.
Practical Tips for the Best Scoop:
- Patience is a Virtue: Rushing the custard chilling or the final freezing will compromise the texture. Good things come to those who wait!
- Storage: Store your homemade cherry ice cream in a shallow, airtight container in the coldest part of your freezer. It’s best enjoyed within 1-2 weeks for optimal freshness and texture.
- Softening Before Serving: For the perfect scoop, take your ice cream out of the freezer about 10-15 minutes before serving to allow it to soften slightly.
- Creative Garnishes: Serve your luscious cherry ice cream in cones, bowls, or transform it into an epic sundae with whipped cream, extra fresh cherries, and perhaps a drizzle of chocolate sauce.
This decadent custard-based
cherry ice cream recipe is more than just a dessert; it's an experience. From the careful crafting of the rich base to the joyful bursts of fresh fruit, every spoonful tells a story of homemade goodness. Embrace the process, savor the flavors, and delight in the satisfaction of creating a truly unforgettable frozen treat that will be the highlight of any summer day or special occasion. Enjoy your homemade masterpiece!